Automating Code Signing with multiple E-Business Suite instances - Part 3

Automating Code Signing with multiple E-Business Suite instances - Part 3

Johannes Michler PROMATIS Horus Oracle


Executive Vice President – Head of Platforms & Development

As you are probably aware by now, since June 1st 2023 all well-known / public Certificate Authorities (CA) no longer provide Code Signing Certificates using pure software based private keys (see https://www.linkedin.com/posts/johannes-michler-099892ab_code-signing-key-storage-requirements-will-activity-7090432157688492032-jGvC).

Since I prefer using such a trusted / public CA to sign Java Applets (that are still crucial for Oracle E-Business Suite or Oracle Forms) I've recently had a look into how we can now sign those Java JAR files. Part 1 of this blog series introduced the topic and an available "Cloud Based" Code Signing Certificate provider: Signing EBS/Forms - Part 1

In a second part I covered how the code signing can be done on an E-Business Suite Application Server running on Oracle Linux 7 on Oracle Cloud Infrastructure (OCI).

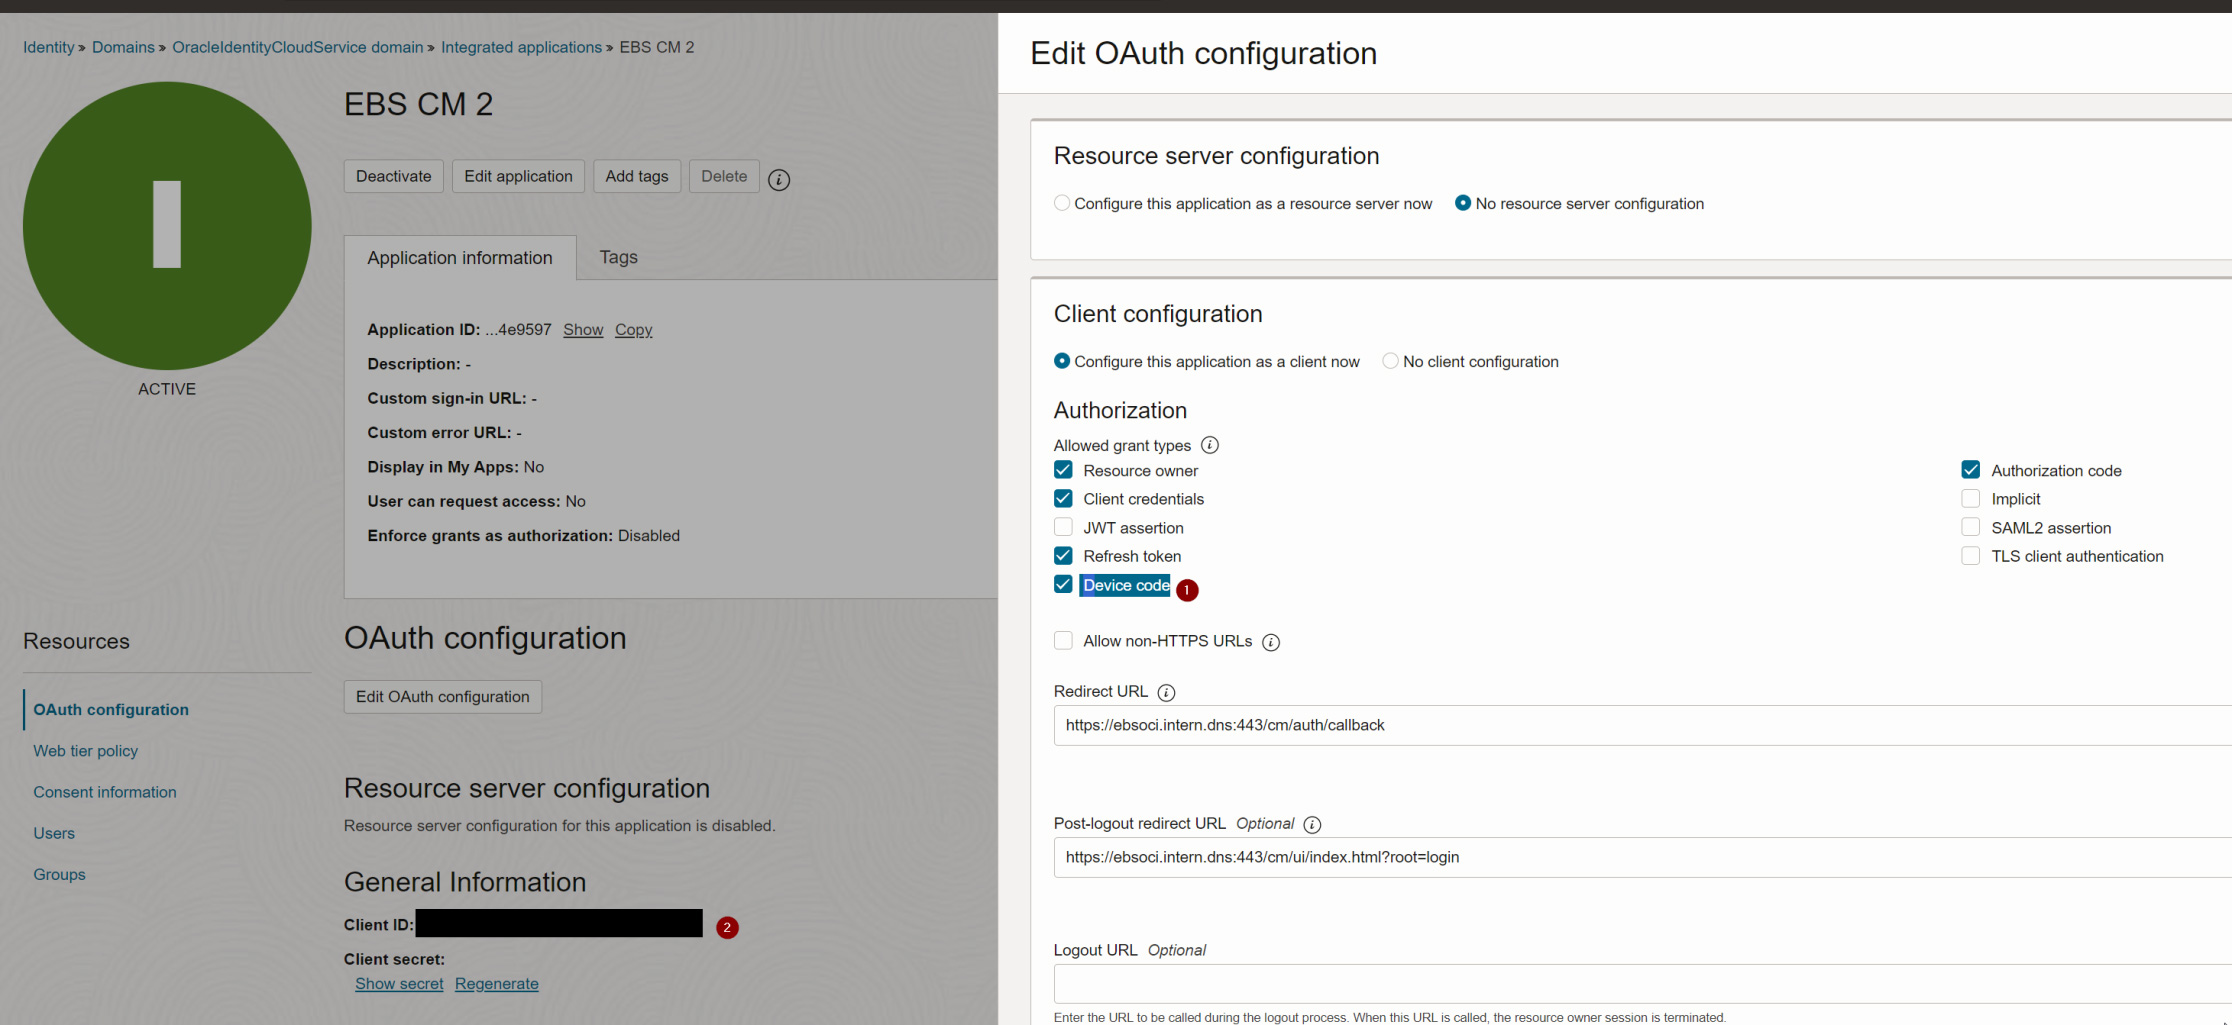
This third post will look how we can further automate this by installing the Certum tools onto the E-Business Suite Cloud Manager VM. First, we'll cover the latest changes from Certum, then we'll look into some scripts that can be used on multiple E-Business Suite Application servers to send the .jar files for signing to that central signing instance.

Certum Tool updates (April 2024)

Back in the previous post, I've complained about the incomplete translation of the Certum tools still revealing a lot of polish error messages. While it seems this is fixed at least partially, I realized that the 2.9.9 versions available over there https://files.certum.eu/software/SimplySignDesktop/Linux-RedHat/ leads to fatal crashes (segmentation fault). That is why for now I stuck with the 2.9.8 release.

Installing Certum SimplySignDesktop as a non-root user

When installing the SimplySignDesktop tool according to the official documentation it is necessary to do so globally/as the root user. Since I didn't like the tool to modify my cloud manager VM in that massive way, I've investigated what the installer actually does. With that I was able to get the tool running with a way less privileged user (that I call certum). Run the following as root:

yum install https://rpmfind.net/linux/epel/8/Everything/x86_64/Packages/s/stalonetray-0.8.3-15.el8.x86_64.rpm
yum install libxslt.x86_64 pulseaudio-libs-glib2.x86_64 libwebp.x86_64 xkeyboard-config
useradd certum
sudo su – certum
mkdir .ssh
vi .ssh/authorized_keys
# add the SSH public key(s) of your oracle@ebs-appserver
chmod 700 .ssh
chmod 600 .ssh/authorized_keys

Then connect a SSH Session with X-Forwarding as certum:

wget https://files.certum.eu/software/SimplySignDesktop/Linux-RedHat/2.9.8-9.1.6.0/SimplySignDesktop-2.9.8-9.1.6.0-x86_64-prod-centos.bin
sh SimplySignDesktop-2.9.8-9.1.6.0-x86_64-prod-centos.bin --target /home/certum/
cp /home/certum/SSD-2.9.8-dist/SimplySignDesktop.xml /home/certum/

Create a /home/certum/provider_simplysign.cfg file as follows:

name=SimplySignDesktop/SimplySignPKCS
library=/home/certum/SSD-2.9.8-dist/SimplySignPKCS_64-MS-1.0.20.so
slot=-1

Furthermore, create a script startGUI.sh as follows:

export LD_LIBRARY_PATH=/home/certum/SSD-2.9.8-dist/
export QT_QPA_PLATFORM_PLUGIN_PATH=/home/certum/SSD-2.9.8-dist/plugins
export OPENSSL_CONF=/etc/ssl/
stalonetray &
/home/certum/SSD-2.9.8-dist/SimplySignDesktop

Finally start the Script and sign in with a one-time-token.

Do a test as follows (in new SSH Session):

/home/certum/SS-9.1.6.0-dist/jre/bin/keytool -list -keystore NONE -storetype PKCS11 -providerclass sun.security.pkcs11.SunPKCS11 -providerArg /home/certum/provider_simplysign.cfg -v

This will provide an alias, in our case: 4F4F410D1234A9110B16DA9C83BD6F59

Furthermore, create a /home/certum/mychain.pem file as described in the previous episode.

Passing the jars

On the E-Business Apps-Server first create a ~/sign_1.sh script as follows:

folderstamp=$(date +%Y-%m-%d-%H:%M)
mkdir -p /home/oracle/sign_bkp/${folderstamp}
jar=$1
# Remove Signature from jar files created through ADADMIN in EBS
echo " ** Removing EBS signature from: ${jar} "
cp -i ${jar} /home/oracle/sign_bkp/${folderstamp}/
zip -d ${jar} 'META-INF/*.SF' 'META-INF/*.RSA'
scp ${jar} certum@10.1.2.199:/tmp/signing-dummy.jar

ssh certum@10.1.2.199 "/home/certum/SS-9.1.6.0-dist/jre/bin/jarsigner -keystore NONE -tsa \"http://time.certum.pl\" -certchain /home/certum/mychain.pem -storetype PKCS11 -providerClass sun.security.pkcs11.SunPKCS11 -providerArg /home/certum/provider_simplysign.cfg -storepass 12345 /tmp/signing-dummy.jar 4F4F410D1234A9110B16DA9C83BD6F59"

scp certum@10.1.2.199:/tmp/signing-dummy.jar ${jar}

The script first creates a backup of the jar, then un-signs the .jar files and copies it to the cloud-manager VM (in my case with IP 10.1.2.199). There the jar is signed and finally the signed .jar is copied back to the E-Business Suite Apps Tier.

This allows signing a single .jar file; the script may be helpful when applying a patch with "options=nojarsigning". Then in there should be a file such as /u01/install/APPS/fs_ne/EBSapps/log/adop/176/20240327_132920/apply/mastebsapp01/36177213/log/jarlist.txt containing all the .jar files that require re-signing.

For the initial signing the procedure in the previous episode can be combined with the copying of the .jar to the Cloud Manager VM.

Verifying and patching

As an alternative to signing "just" the files in $NE_BASE/EBSapps/log/adadmin/log/jarlist.txt I found it useful to just sign all .jar files under $JAVA_TOP. For this the following script proved helpful:

folderstamp=$(date +%Y-%m-%d-%H:%M)
mkdir -p /home/oracle/sign_bkp/${folderstamp}
# Select the jar files from jarlist.txt
for jar in $(find $JAVA_TOP/oracle/apps -name \*.jar)
do
# Remove Signature from jar files created through ADADMIN in EBS
echo " ** Removing EBS signature from: ${jar} "
cp -i ${jar} /home/oracle/sign_bkp/${folderstamp}/
zip -d ${jar} 'META-INF/*.SF' 'META-INF/*.RSA'
scp ${jar} certum@10.1.2.199:/tmp/signing-dummy.jar
ssh certum@10.1.2.199 "/home/certum/SS-9.1.6.0-dist/jre/bin/jarsigner -keystore NONE -tsa \"http://time.certum.pl\" -certchain /home/certum/mychain.pem -storetype PKCS11 -providerClass sun.security.pkcs11.SunPKCS11 -providerArg /home/certum/provider_simplysign.cfg -storepass 12345 /tmp/signing-dummy.jar 4F4F410D1234A9110B16DA9C83BD6F59"
scp certum@10.1.2.199:/tmp/signing-dummy.jar ${jar}
done

It is helpful to first to a check if the $jar is already signed as follows:

result=`jarsigner -verify -certs ${jar}| tr -d '[:space:]'`
if [[ "jarverified." != "$result" ]]
then
echo ${jar} needs re-sign; $result
# put the signing here
fi

Summary

Using above scripts, it is amazingly easy to sign all .jar files both initially as well as after applying a patch. The version using a "find" on $JAVA_TOP may sign "a bit more than needed", but in my experience that does not do any harm.

I am still hoping that Oracle will provide a way to "Hook" a script such as sign_1.sh into the signing process called during patching or through adadmin. This would probably be announced in "Signing EBS Jar Files With HSM (Hardware Security Module) - (Doc ID 2806640.1)".

Automating Code Signing with multiple E-Business Suite instances - Part 3

Accessing E-Business Suite Cloud Manager APIs - IDCS Token Management

Johannes Michler PROMATIS Horus Oracle


Executive Vice President – Head of Platforms & Development

Previously (https://promatis.com/at/en/fully-automating-cloning-with-e-business-suite-cloud-manager-rest-api/), I described how you can use (unofficial) APIs to fully automate E-Business Suite environments hosted with Cloud Manager on Oracle Cloud Infrastructure (OCI). As you can see there, the actual call to trigger a clone or also the termination of an environment is rather simple. I've recently used that a lot when I worked on my clone scripts. In that process, I had to create ~10 clones, and doing so with a simple REST call saved me a lot of time.

In said post, we got hold of a "OAuth Bearer Token" that is needed to call those APIs in a very manual way "through the browser". In real life, this does not really come in handy. This blog post will describe how a bearer token (including a refresh token) can be received through the command line.

Preparations

In preparation for using the scripts shown below, we have to enable the usage of "Device Codes" for the Cloud Manager application in IDCS:


Definition of Cloud Manager application in IDCS

Furthermore you should take note of the client_id, the client_secret and the IDCS url. All 3 have also been used during Cloud Manager setup.

A piece of Code

First of all, the following shell script does all the magic needed. You have to replace XXXXX, YYYYY and ZZZZZ with values from your environment:

#!/bin/sh
CLIENT_ID="XXXXX" # as in IDCS
CLIENT_SECRET="YYYYY" # as in IDCS
CLOUDMGR_URL=https://ebsoci.intern.dns
IDCS_BASE_URL=https://idcs-ZZZZZ.identity.oraclecloud.com/oauth2/v1
IDCS_TOKEN_URL=${IDCS_BASE_URL}/token
IDCS_DEVICE_URL=${IDCS_BASE_URL}/device

PASS_ENC=`echo -n "$CLIENT_ID:$CLIENT_SECRET" | base64 -w 0`

#echo PASS_ENC $PASS_ENC

if [ -f "mytoken" ]; then
REFRESH_TOKEN=`cat mytoken | jq '.refresh_token'| tr -d '"'`
echo refresh token: $REFRESH_TOKEN
BEARER_TOKEN=`curl -K -i -H 'Authorization: Basic '"$PASS_ENC"'' -H 'Content-Type: application/x-www-form-urlencoded;charset=UTF-8' --request POST $IDCS_TOKEN_URL -d 'grant_type=refresh_token&refresh_token='"$REFRESH_TOKEN"`
cp mytoken mytoken.old
else
DEVICE_INFO=`curl -K -i -H 'Authorization: Basic '"$PASS_ENC"'' -H 'Content-Type: application/x-www-form-urlencoded;charset=UTF-8' --request POST $IDCS_DEVICE_URL -d 'response_type=device_code&scope=urn:opc:idm:t.user.me%20offline_access&client_id='"$CLIENT_ID"`
echo $DEVICE_INFO
DEVICE_CODE=`echo $DEVICE_INFO | jq '.device_code'|tr -d '"'`
echo identified DEVICE_CODE $DEVICE_CODE press enter when done
read HAS_FINISHED
BEARER_TOKEN=`curl -K -i -H 'Authorization: Basic '"$PASS_ENC"'' -H 'Content-Type: application/x-www-form-urlencoded;charset=UTF-8' --request POST $IDCS_TOKEN_URL -d 'grant_type=urn:ietf:params:oauth:grant-type:device_code&device_code='"$DEVICE_CODE"`
fi

echo $BEARER_TOKEN
echo $BEARER_TOKEN > mytoken
ACCESS_TOKEN=`echo $BEARER_TOKEN| jq '.access_token'| tr -d '"'`
echo ACCESS_TOKEN: $ACCESS_TOKEN

# call the rest api to get shapes
#

curl -k -X GET $CLOUDMGR_URL/ebs/shapes/networkProfile/MY_AD2 -H 'Authorization: Bearer '"$ACCESS_TOKEN"''

First running the script

When you call this script for the first time, it gives an output as follows:

{"device_code":"xxxxxx","user_code":"CTHJNLAM","verification_uri":"https://idcs-ZZZZZ.identity.oraclecloud.com:443/ui/v1/device","expires_in":300}

identified DEVICE_CODE 483150ce7704487da495593d1c97c2a4 press enter when done

Just open the verification URI provided in a browser, sign in to IDCS and pass the user_code CTHJNLAM.

Then, return to the shell script and press return. This will allow the script to get a Bearer Token including a Refresh token.

Subsequent runs

On every subsequent run, the "previous" refresh token (stored in the file mytoken) is exchanged for an access token and a new refresh token. That new refresh token is saved (each refresh token is a one-time-use token) and can then be used for the next run.

Using the access token we received through that way, we can conveniently access the Cloud Manager APIs.

Summary

With the above way, you can get a token that is valid for at least a week. For most operations this should be sufficient; if not, these timings can be extended in IDCS. See https://docs.oracle.com/en/cloud/paas/identity-cloud/rest-api/TokenExpiryTable.html for more details on that (OAuth Refresh Token Expiry).

The combination of the procedure described in this and the previous blog post allow a simple and complete end-to-end automation of clones - e.g. on a nightly basis.

November 21-24, 2023 | DOAG 2023 Conference + Exhibition

November 21-24, 2023 | DOAG 2023 Conference + Exhibition

PROMATIS WITH LECTURES ON SITE

The DOAG 2023 Conference + Exhibition takes place from November 21 to 24 at the Nuremberg Convention Center (NCC) and will once again present a wide-ranging conference program on the latest trends in the Oracle environment. Around 400 lectures provide new impulses and pure knowledge - top-class keynotes, valuable tips & tricks, demos, Best Practices and modern networking elements optimally round off the conference highlight of the German-speaking Oracle Community.

Info

November 21-24, 2023
Nuremberg Convention Center (NCC)

The four-day user conference kicks off on Tuesday with the theme day to dive deep into just one topic. On Wednesday and Thursday you can look forward to two classic conference days with sessions in the four streams Database & Infrastructure, Development & Middleware, Strategy & Soft Skills and Data Analytics & AI.

PROMATIS will be at the start with the following contributions:

  • OCI für Anfänger Teil 1 – Grundlagen (Thementag der DOAG Infrastructure & Middleware Community)
    Tuesday, November 21, 2023 | 09:00 - 09:45 | Room: Neu-Delhi
  • Oracle Database Service for Azure (Teil 2 Thementag)
    Tuesday, November 21, 2023 | 15:00 – 15:45 | Room: Neu-Delhi
  • PROMATIS goes digital – mit Oracle APEX im Gepäck
    Thursday, November 23, 2023 | 11:00 - 11:45 | Room: Istanbul
  • Von Druckerpresse zur Cloud – Hyperion Essbase Ablösung bei Saarbrücker Zeitung
    Thursday, November 23, 2023 | 09:00 - 09:45 | Room: Helsinki

More information to DOAG 2023 Conference + Exhibition you can find here.

PROMATIS receives Certificate: Expertise in Oracle E-Business Suite Applications to Oracle Cloud in Western Europe

PROMATIS receives Certificate: Expertise in Oracle E-Business Suite Applications to Oracle Cloud in Western Europe

We’re delighted to announce that we’ve achieved Service Expertise in Oracle E-Business Suite Applications to Oracle Cloud in Western Europe. This further demonstrates our commitment to provide holistic and seamless Oracle Cloud implementations.

This award not only testifies to our high level of expertise in Oracle E-Business Suite, but it also presents the satisfaction of our customers.

The Expertise Initiative was launched by Oracle to provide more transparency on the specific capabilities of Oracle partner companies. To receive a certification, an Oracle partner company must meet strict criteria: On the one hand, the requirements include the availability of enough certified consultants in the company, and on the other hand, corresponding customer references must be submitted, which confirm the company’s own project successes for the respective focus field.

Oracle named a Leader in the Forrester Wave for Digital Experience Platforms 2021 report

This year’s report evaluated the 13 most significant digital experience platform providers based on 26 criteria. Oracle Advertising and Customer Experience (CX) was one of only four Leaders and received the highest possible score in 19 of the 26 criteria including: vision, market approach, and partner ecosystem, as well as campaign management, digital commerce, customer analytics, and customer journey management.

Oracle Advertising and CX includes a wide range of digital experience capabilities within a suite of connected applications that help you build a complete view of your customer and their every interaction across advertising, marketing, sales, service, and ecommerce.

Read here the Forrester Report.